
| My Articles | Brachiosaurus | incrustation photo | Mission to Mars |
| Drafts | The Kit | The Materials | The nacelle |
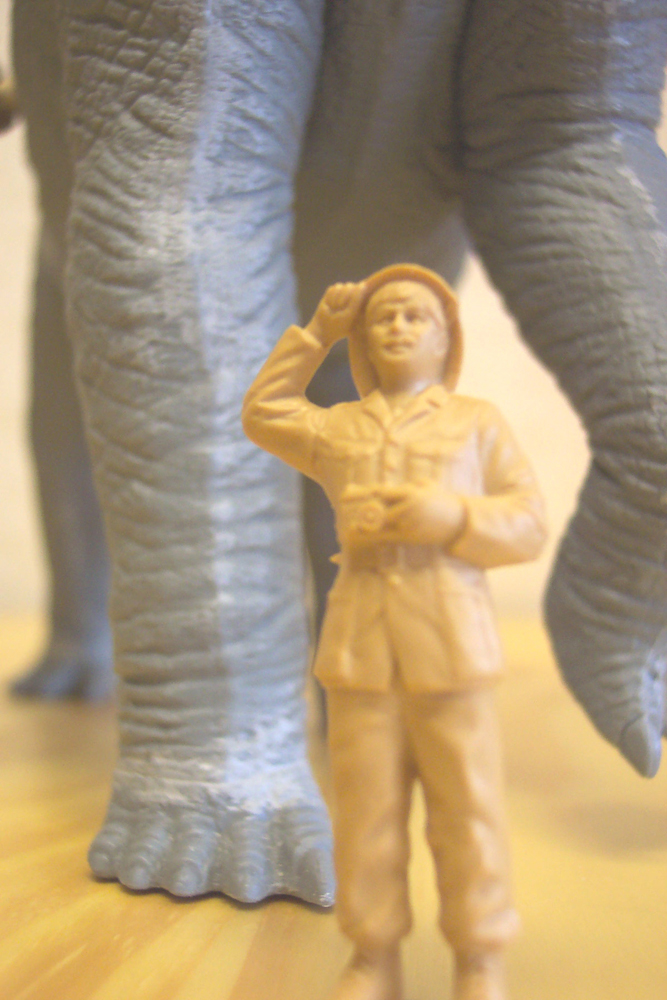
| The figurines coming soon | The diorama coming soon |
The differents équipments of the nacelle
| The net anti-falls | the rope ladder | ||
| the paint | |||
And The links towards sites of the T-Rex
Always under construction
For this 1st article , I will explain you the realization of my Brachiosaure of his nacelle and the diorama.
For the small History,
Of also far I remenber, I always loved the dinosaurs.
Before beginning this one, I had already made T.Rex (tyranosaurus Rex).
I like the fantastic and I decided to make it (the dinosaurs)
in a manner can orthodoxe, as you can note it.
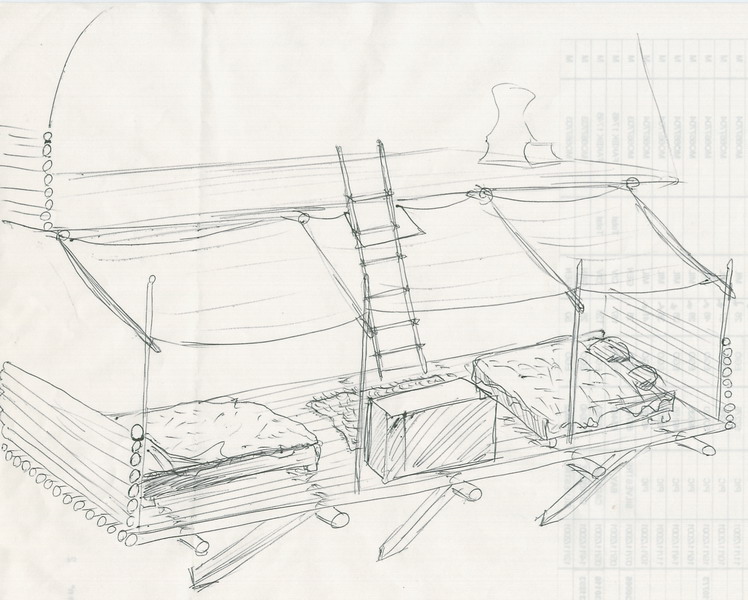
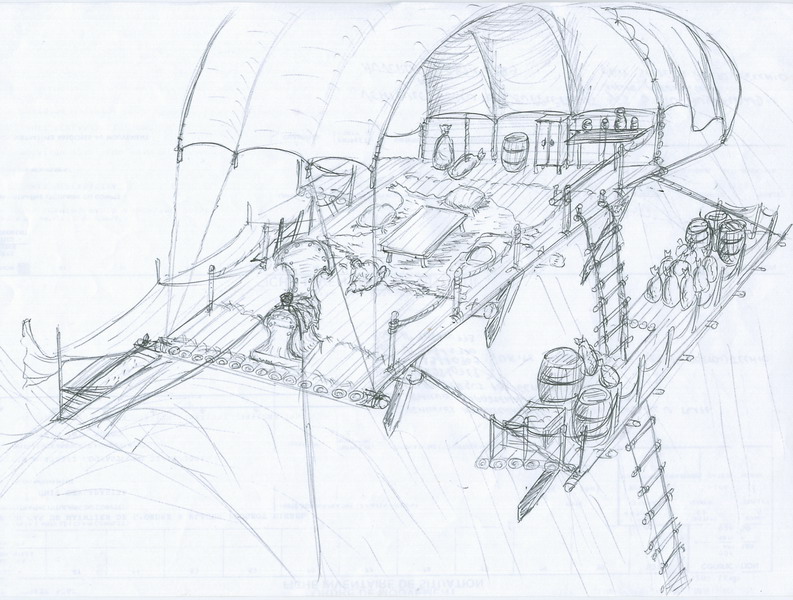
To arrive from there, I asked to a freind (artist in the heart)
to make me some drafts while following my instructions
Here what that gives.
The Kit
This is the principal object of this article : the BRACHIOSAURE.
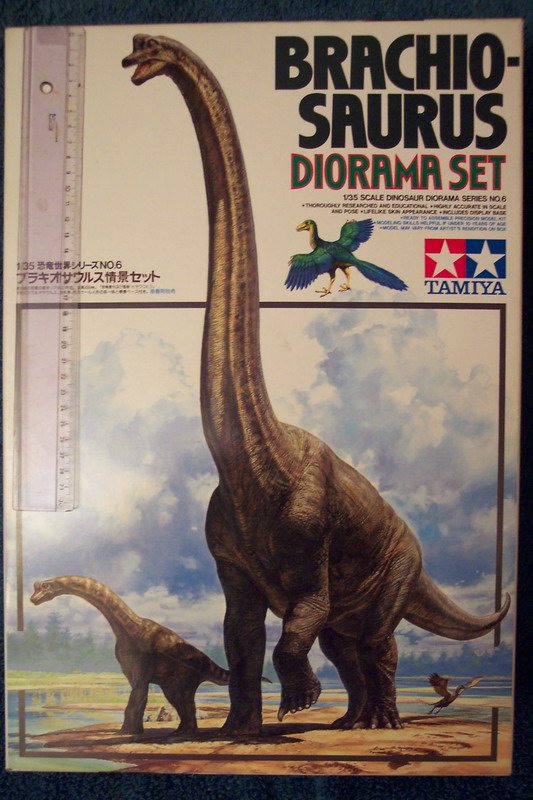
It's Tamiya kit in 1/35°.
Engraving is of good quality. The assembly is carried out whitout too much problem,
Besides some joints to mastiquer.
/globetrotter
 photo
1
photo
1
 photo
2
photo
2
 photo
3
photo
3
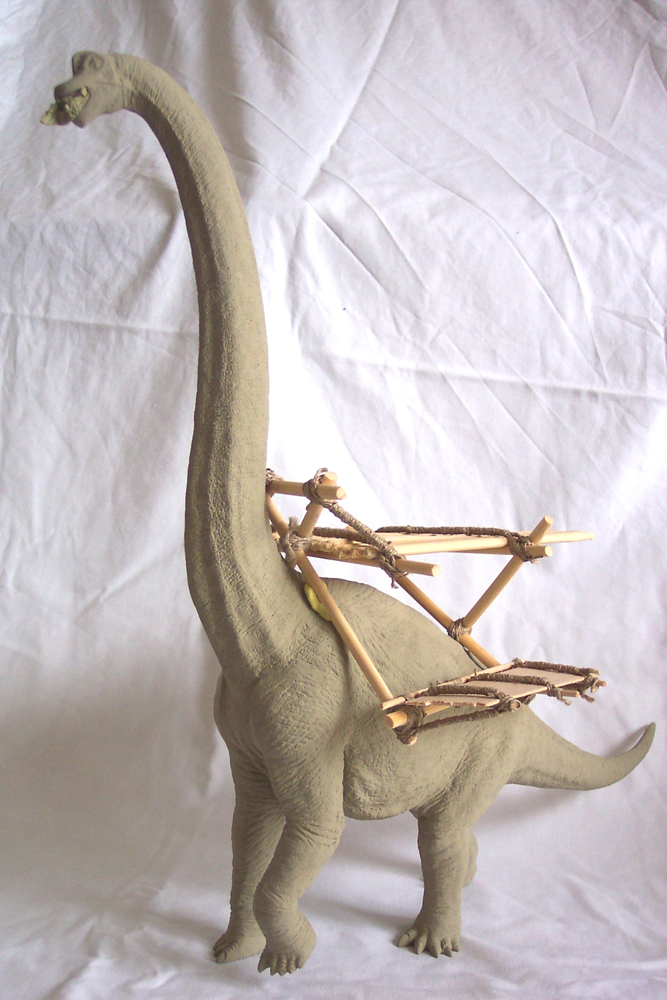
This is the first pics of the beast, as well as nacelle.
(photos 1 & 2) It's the first version of plate which I made.
I then modified it so that made either better. (photo 3)
Photo 4, below, shows us a large plan of the head.
 photo
4
photo
4
 photo
5
photo
5
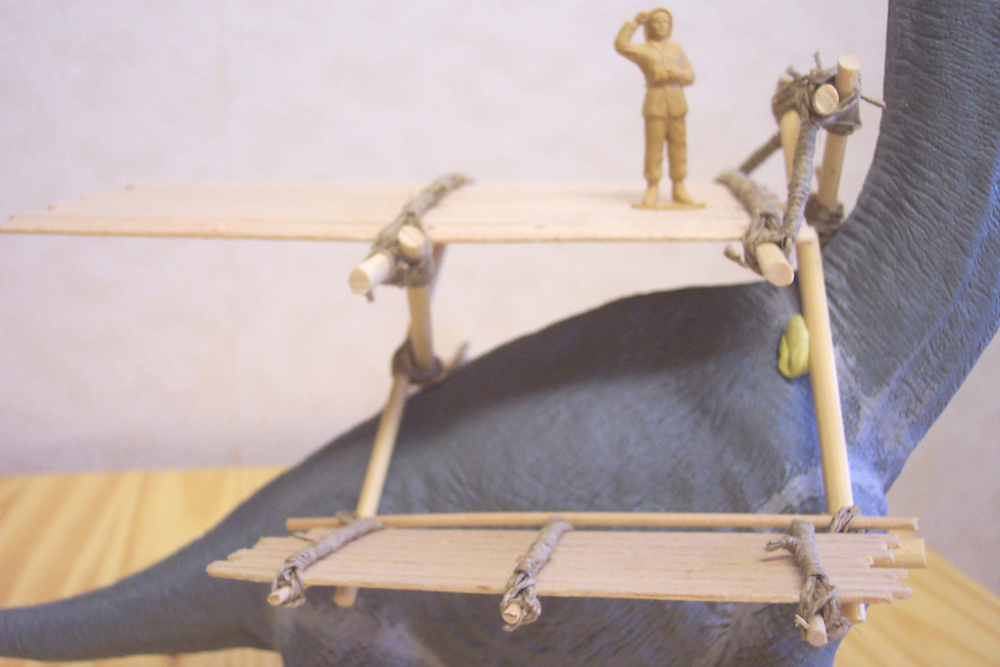
In photo 5, you discover the unit (dinosaur - nacelle)
The materials
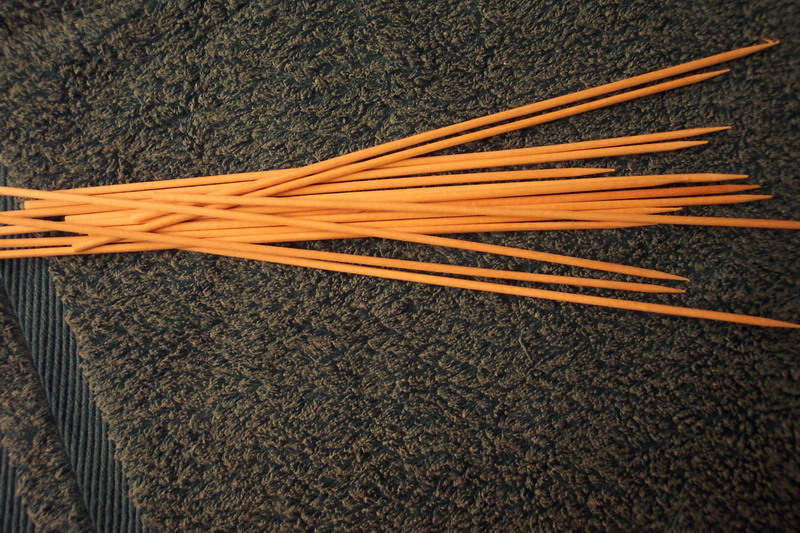
I will present the materials to you which I used for the buildt of the nacelle.

The whole of materials.
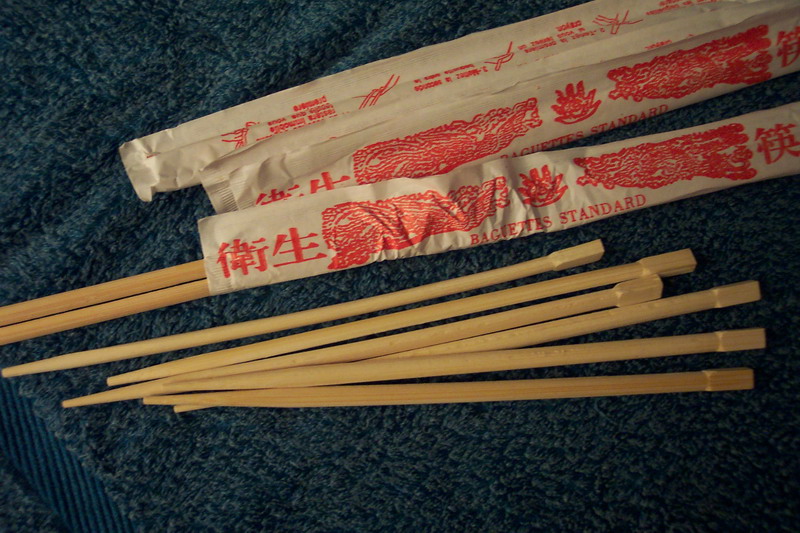
Rods of chinese meal recovered in dishes frozen and spades to prepare the skewers.
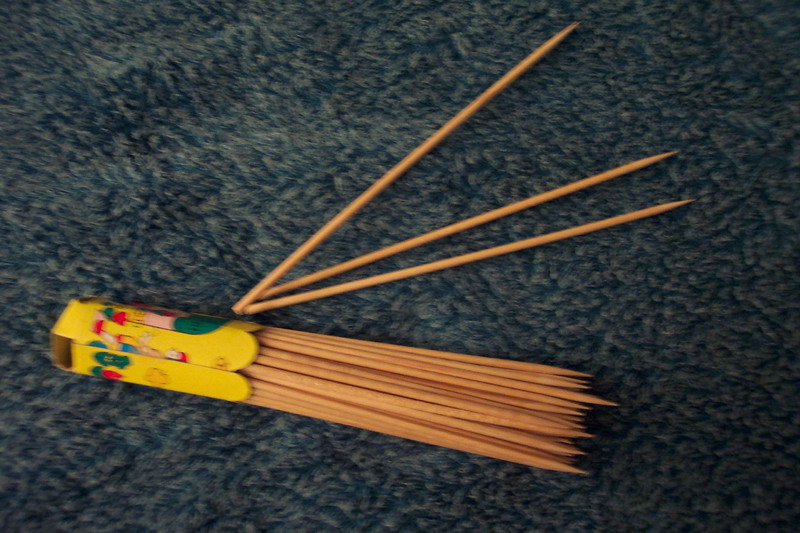
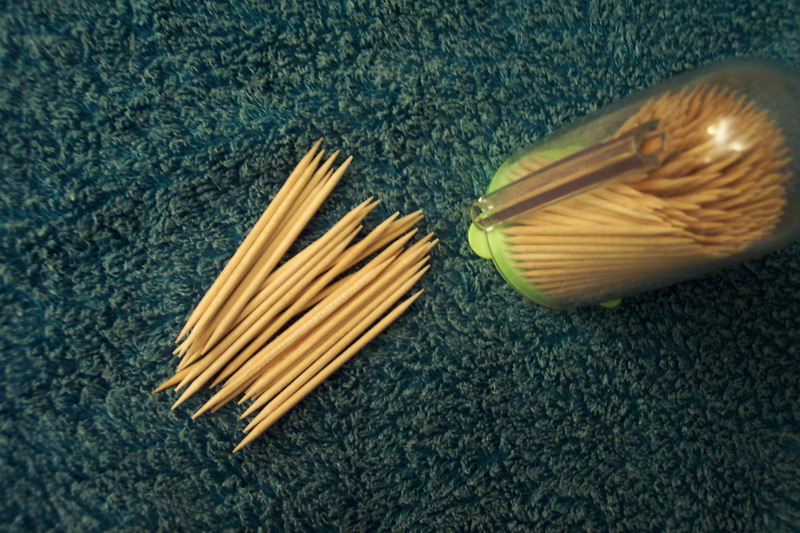
Toothpicks various lengths.

Balsa boards and hazelo trees of model making plane and boat,
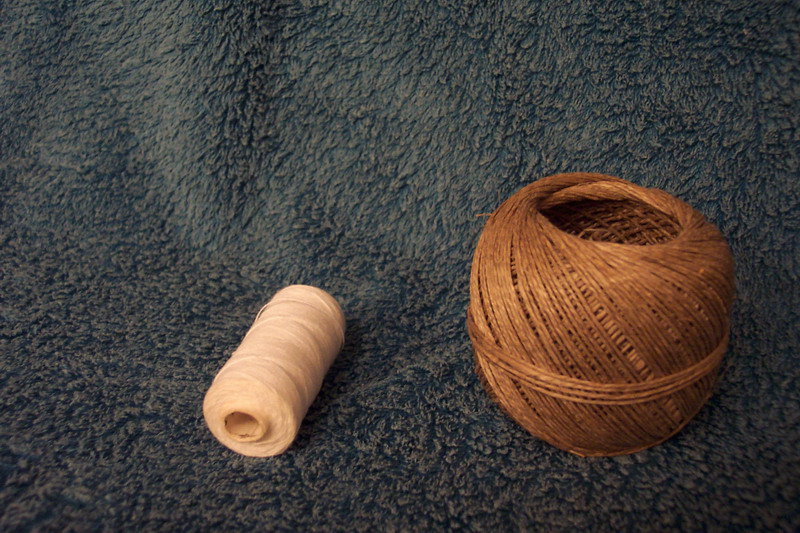
and well on string various thicknesses.
The nacelle
For the nacelle, best is to look at the photos.

 .
.
All the assembly it is carried out without adhesive. Only by various binding and bonds.

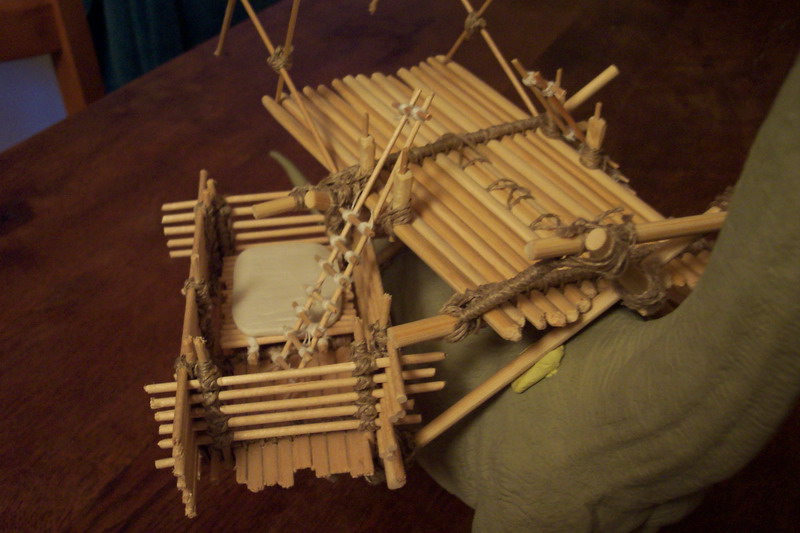


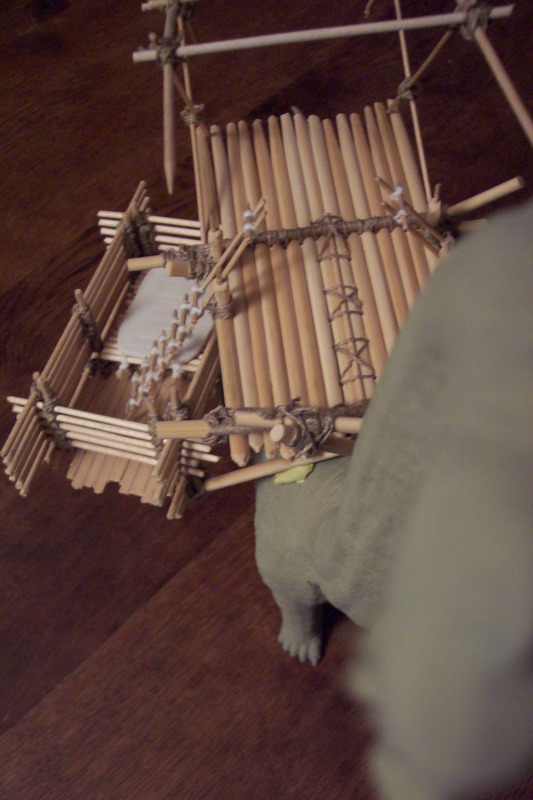
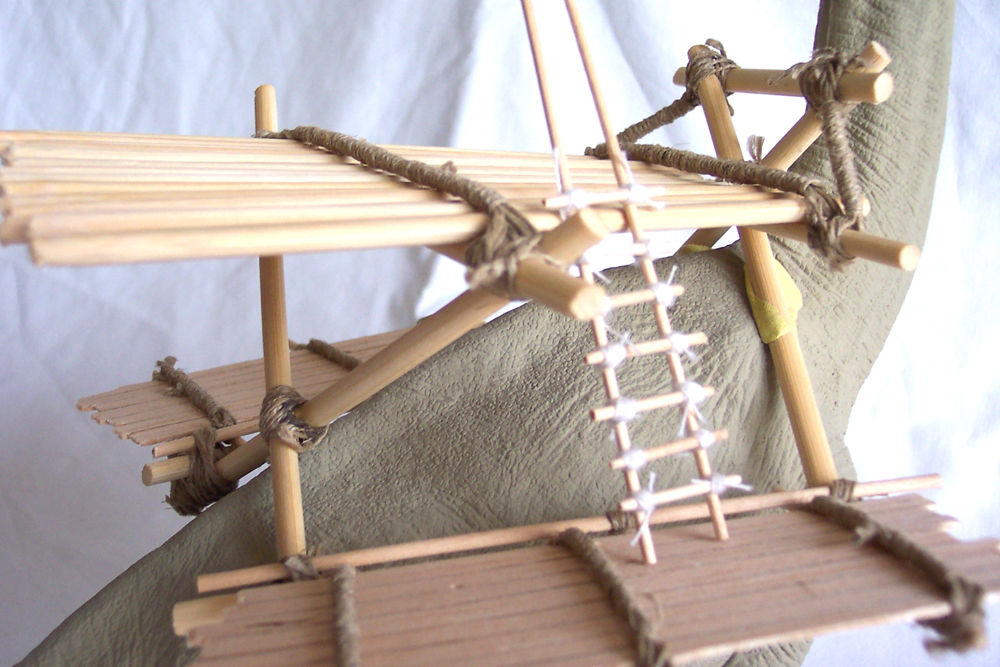
Equipments of the nacelle
Thenet anti-falls
First of all the net anti-fall of the side storage of materials and foods.

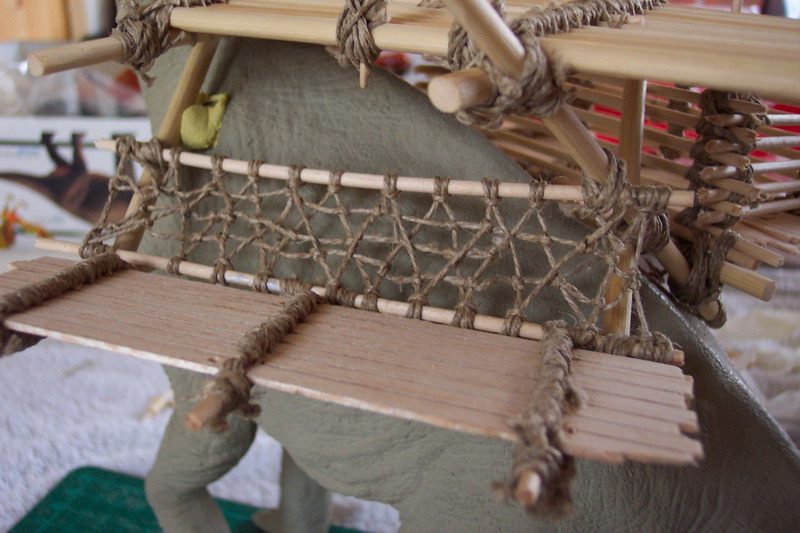
The construction
 photo
1
photo
1
 photo
2
photo
2
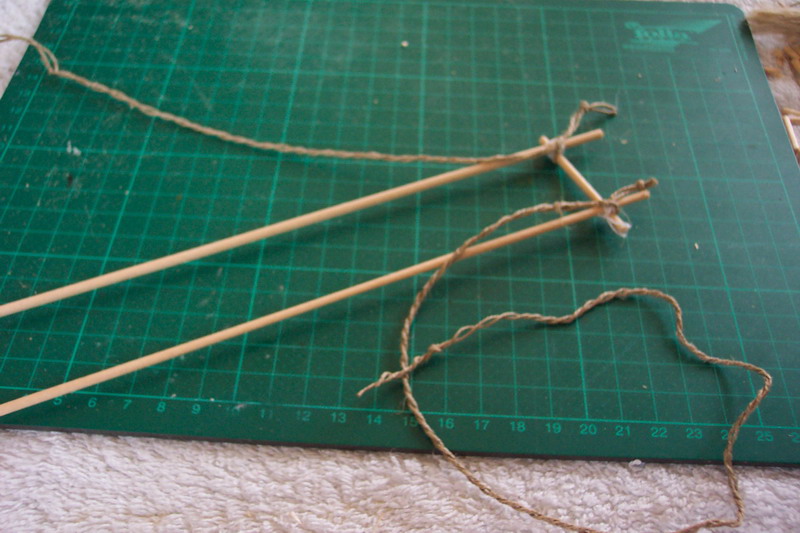
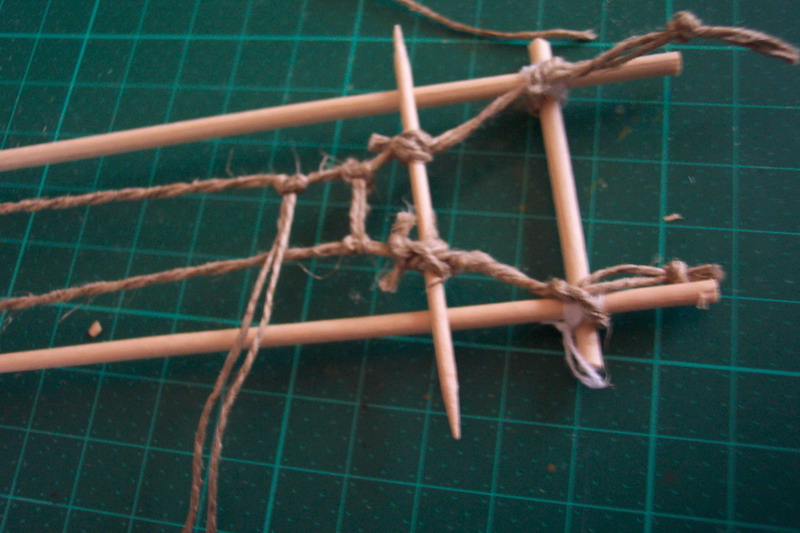
I have initially to make a framwork desired length and width. (photo 1).
One this one,I fixed each dimensioned, two braided cords (photo 2).
 photo
3
photo
3
 photo
4
photo
4
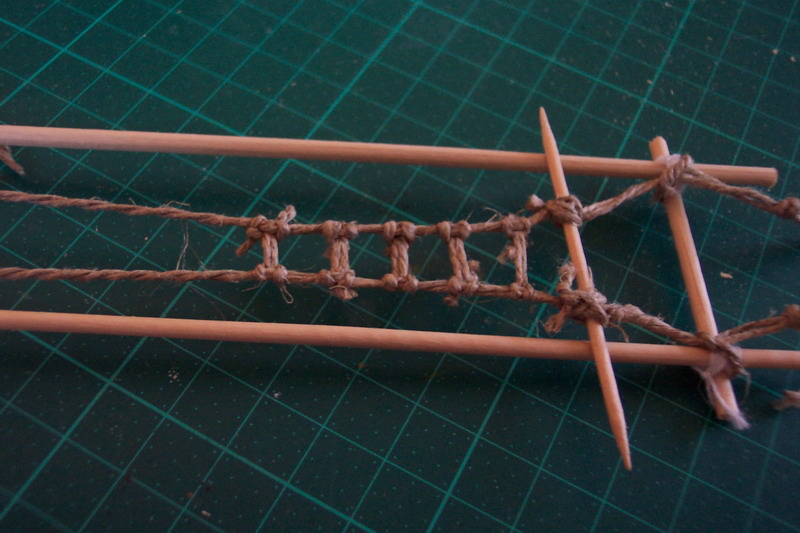
Then, I took bits of string which I attached on each cord (photo 3 & 4).
 photo
5
photo
5
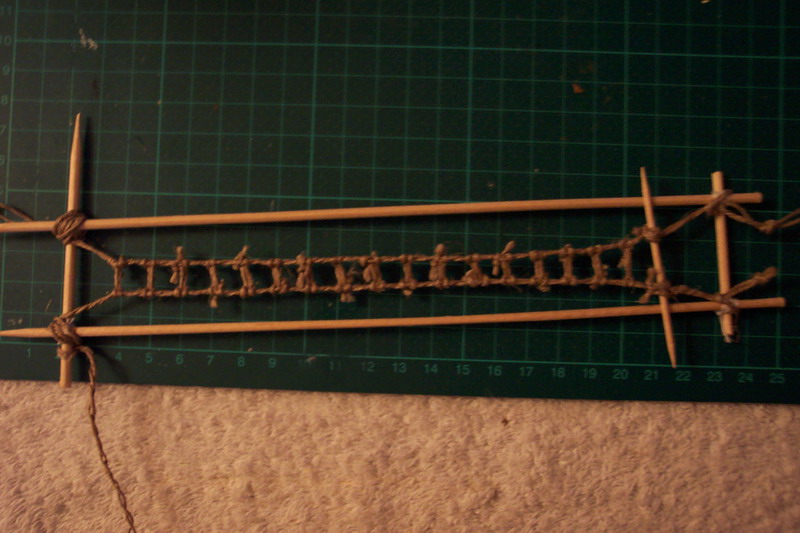
Here the ladder finished on his support (photo 5), I put approximately 1 hour t ucarry out the latter.
 photo
6
photo
6
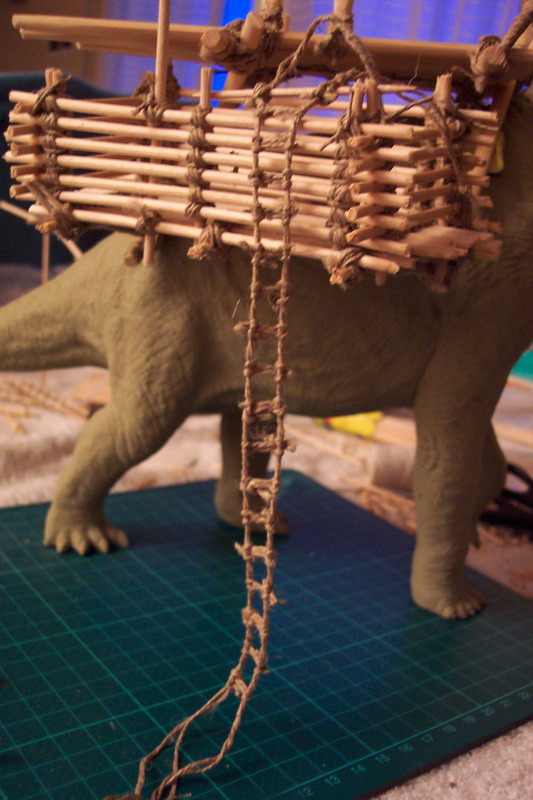
And finally, a dummy trial on the nacelle, I must say that i am content with the result obtained (photo 6).
I begin finally the painting of the animal.
The basic color was thus XF55 DECK TAN of Tamiya (See photo).
I then passed a filter X9 BROWN (photo 1) and that to obtain a small brilliant film.
Then I painted the belly with a mixture of yellow and a point of burnt Sienna (windsor oil)(photo 2 & 3).
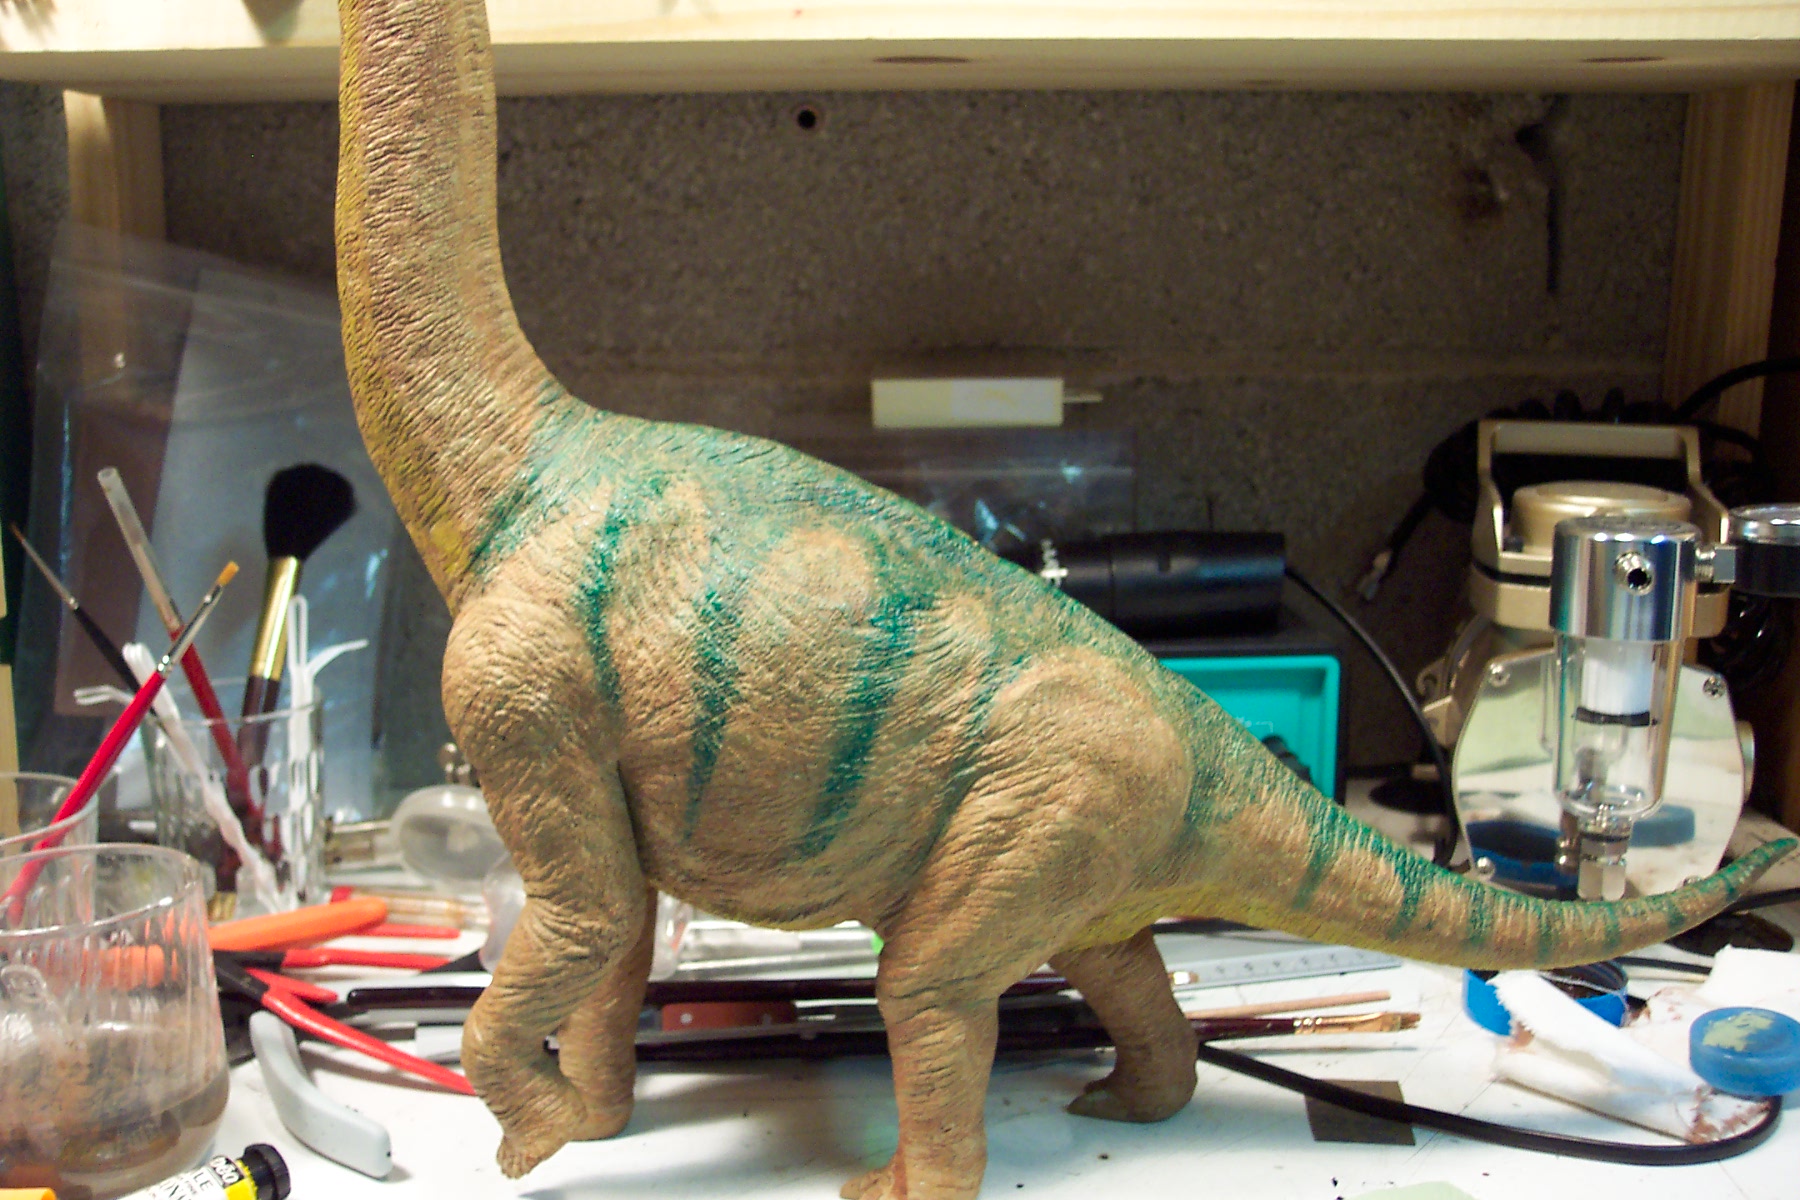 photo 4
  photo 5
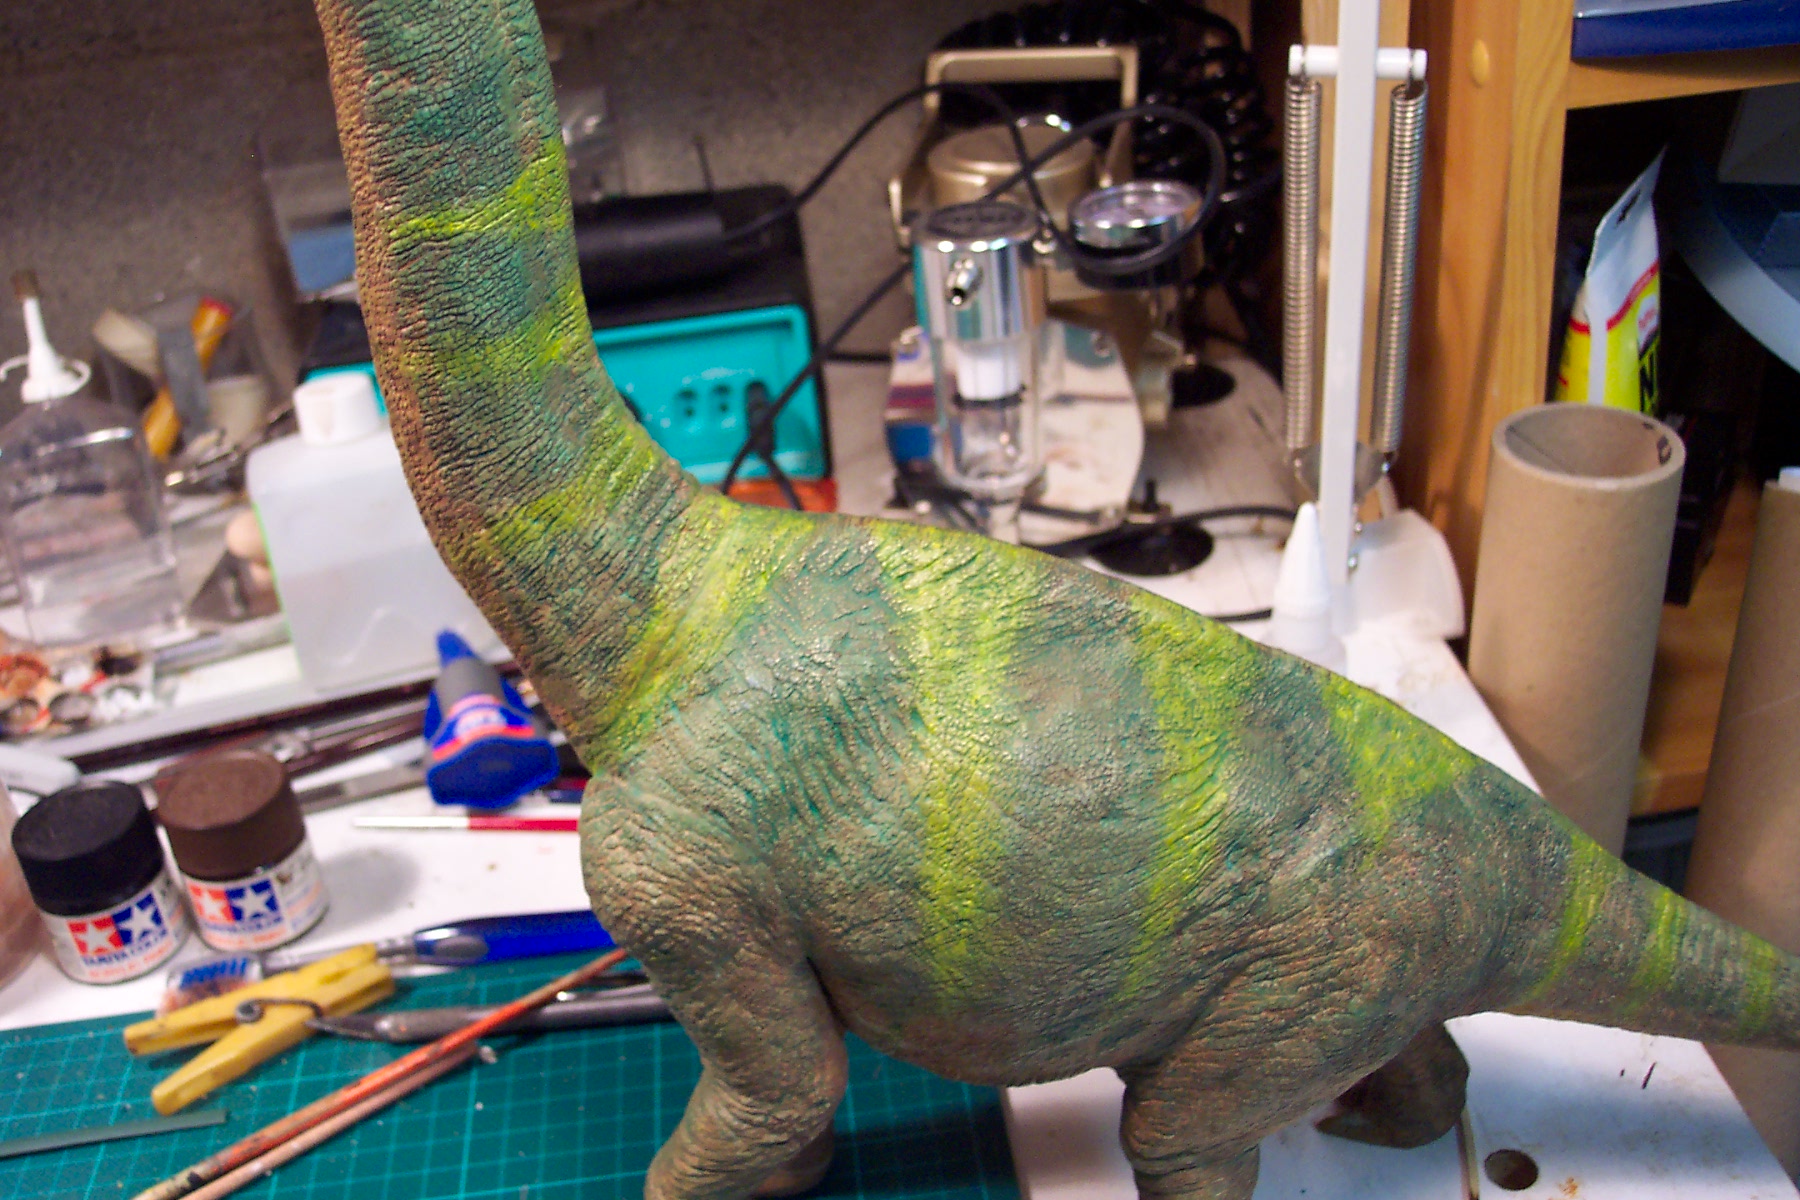
On photos 4 & 5, I began a "camouflage" but this last was not appropriate to me.
 photo 6
I passed all the top of the model to the "essence F". (photo 6).
 photo 7
I thus started again the top with a different approach (photo 7).
And this new beginning of camouflage is appropriate to me better (photo 8).
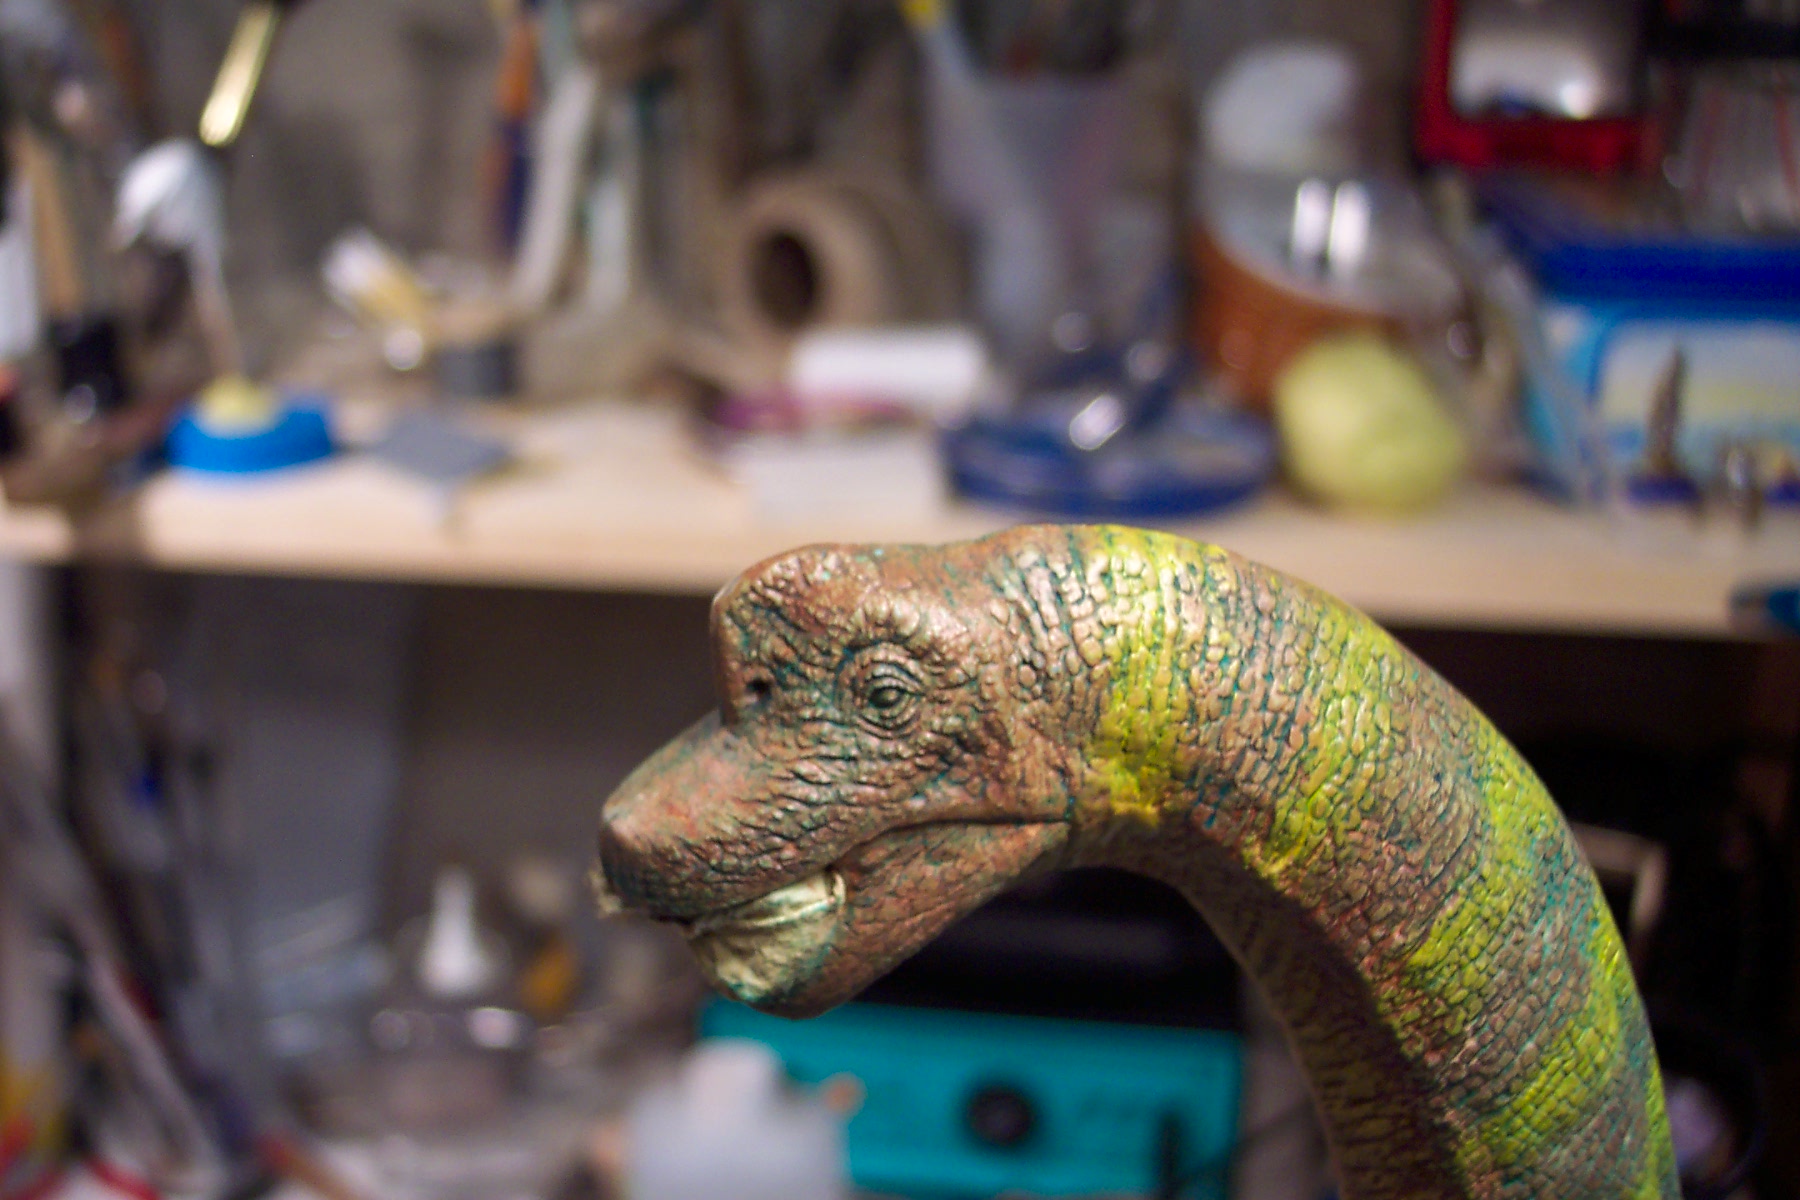 photo 9
A Small large plan top of neck and head of the animal.
To follow......
Various links towards sites of dinosaurs :
http://members.tripod.com/~Dinosauria/Tyranosaurus.html
http://persocite.francite.com/dan3/Tyranosaurus%20Rex.html
http://www.gate.net/~mcorriss/Stan.htm
http://www.digimation.com/models/UI/Product/ShowProductFullInfo.aspx?ProductID=40344
http://www.musearts.com/dinosite/trex.html
http://www.enchantedlearning.com/subjects/dinosaurs/dinos/Trex.shtml
http://www.ucmp.berkeley.edu/trex/specialtrex2.html
http://dinosauricon.com/genera/tyrannosaurus.html
| My Articles | Brachiosaurus | incrustation photo | Mission to Mars |
© LEQUEUX Bruno 2006 © Globetrotter 2006


